Showing posts with label ATO. Show all posts

Tuesday, February 19, 2013

A Little LED Upgrade


Even though this tank has an amazing LED setup, Moonlights, Actinics and the 14k LED lights I needed something in between to give me more options to blend in and not to mention more coloration from my corals.
After doing some research I found that the Ecoxotic Stunner Strips offer low power consumption,  smaller size, and a variety of colors.  The Ecoxotic strips are water resistance and are the perfect size to install in my hood. I ended up going with one magenta strip and one ultraviolet strip.  I figure this would give me a nice blend since the actinic leds that come with the tank are really intense.
 I was very uneasy at first about taking the hood apart to make to make some mods.  I figure I would be able to install over the glass, even with a low profile height the stunner wouldn't fit accurately and they where to close to the water.
So ended up removing the plastic cover following with the glass. My 1st idea was to place them one on the front and one on the back. To my disappointment, the stunner strips where block from the inner frame.  So the next idea was to place them in the middle of the fixture.  The stunner strips where to large that the glass cover wouldn't cover it.  I had to remove side of the black frame that holds the glass in place.  After doing some measuring and cutting the side frame for the stunner strips, I gently snap them in place and they where flush with the frame.


After the stunner strips fitted nicely on the black frame and in between the 14k leds, it was time to arrange the cords around the reflector to cover them from being exposed.  The next step I did was to get my vacuum and suck all the dust in there.  Since you can daisy chain the strips, I had to cover the expose side with a fitted plug cover that comes with the stunner strip.


I use one of the output from the stock lights and resealed with the rubber fitting from one of my old 12 JBJ DX.  So it gives it a slicker professional look.  I ended up placing the glass lid and the plastic cover guard back in place. and gave it a test drive.  Now that I have more options to play with I can set it up to different settings to give it a unique personal look.


UV Stunner Strip
UV Stunner Strip and Moonlights
Actinic and UV Stunner Strip
Actinic and Magenta Stunner Strip at 10%
Actinic and Magenta at 20%
Actinic  and Magenta at 40%
 Actinic and Magenta at 60%
 Actinic and Magenta at 80%
Actinic and Magenta at 100%
14k, Actinic, and Magenta at 80%


Tuesday, November 27, 2012

New JBJ ATO with Tom Aquatics dosing Pump


So I been getting several water evaporation, and it's a pain getting that 5gl jug over the tank to add water.

I decided to try one of those Auto Top Off system, there's so many out in the market ranging different prices.  Today I'll be focusing on the JBJ ATO, now I gotten several mix reviews that it's an okay item.  
This comes with 2 floater sensors and several brackets to adjust the height of the floater sensors, as well as     
2 suction cups.


I like the feature that you can set this up 2 ways.  The way I'll be setting up is with one floater sensor and as the pump i will be using the famous Tom Aquatics Aqualifter.. oooohhhh la la..


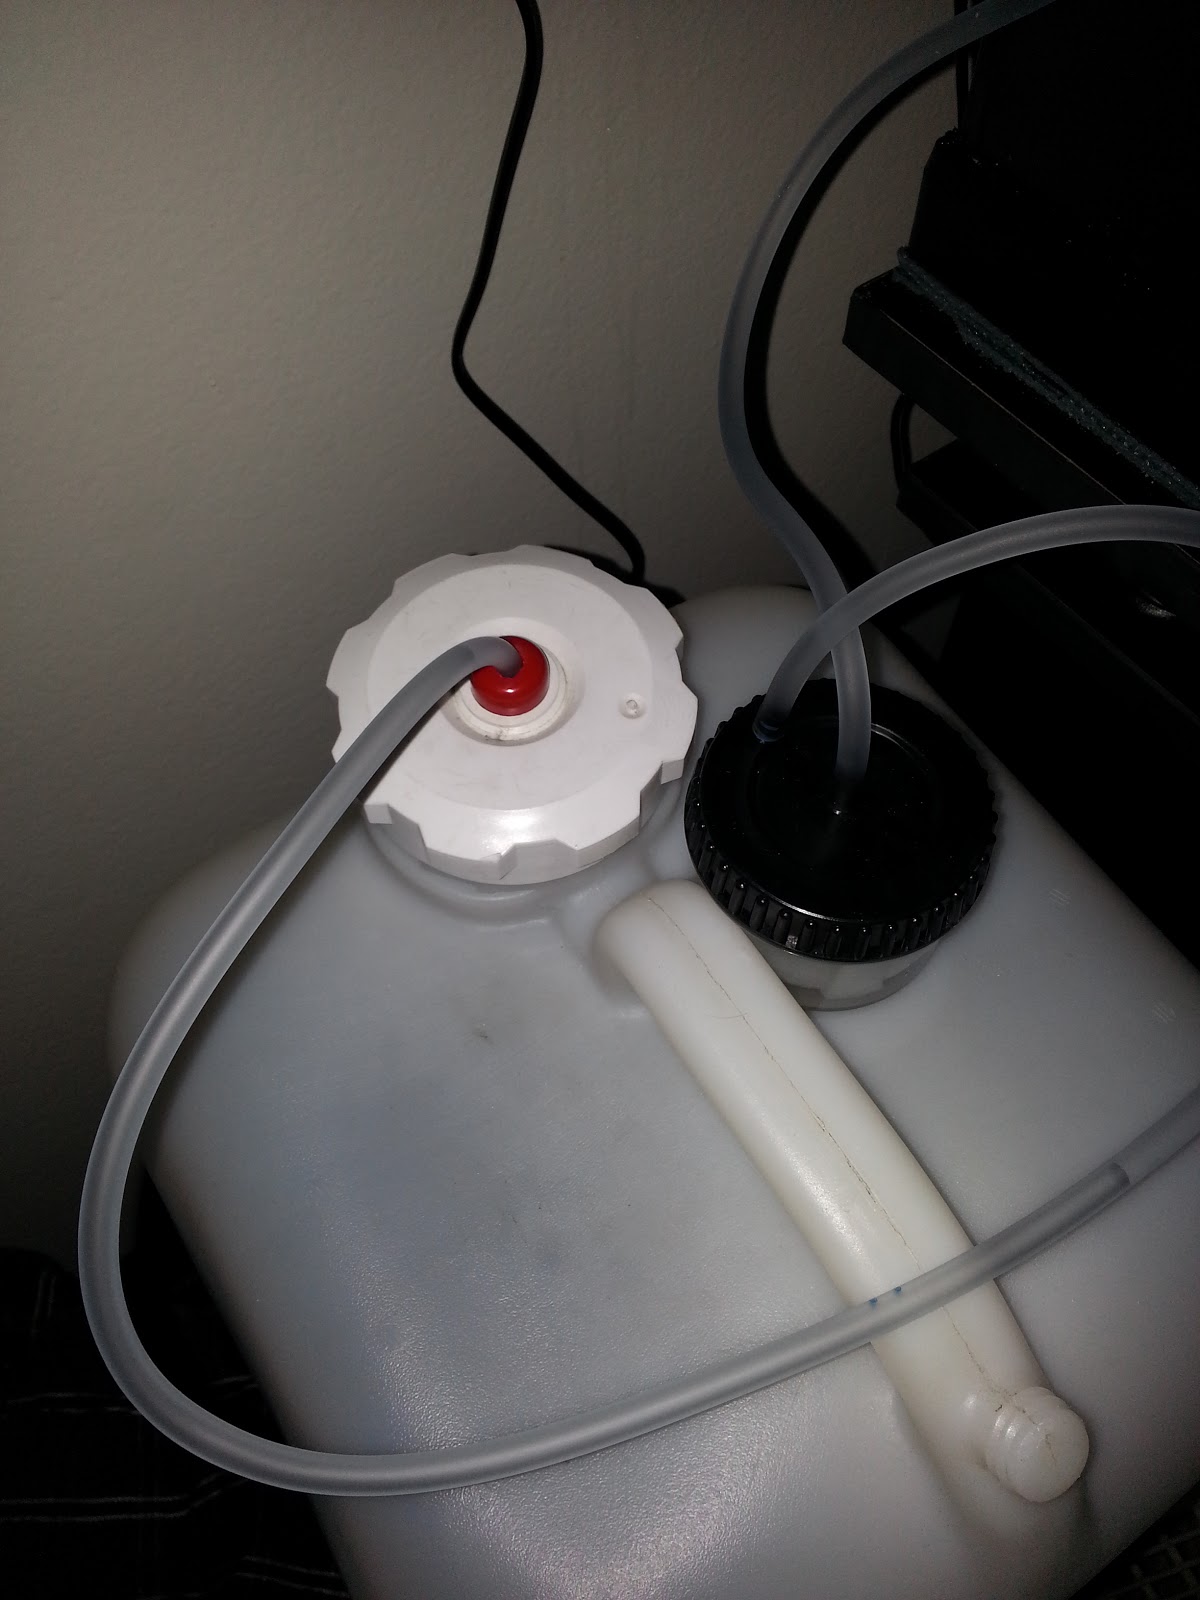
So I cut 2 pieces of 3 ft length on the flexible tubing, one to go into the Aqualifter and 1 ft length of the tubing that's going into the into the suction pre-filter. The remaining three feet goes from the suction pre-filter into the reservoir(in this case I'll be using a 5gl water jug)


Next Step is too mount the JBJ ATO, I mounted it next to my wavemaker.  The float sensor was placed with one bracket on the left chamber next to the protein skimmer.   I adjusted the height by cutting a small piece of 1/2" tubing and placing it under the bracket sitting firmly on the rim of the aquarium.  The output hose of the pump was run in between this 1/2" piece of tubing to hold it place and not to allow it to be in the water as this may cause a back flow siphon.


 After testing the system, the Aqualifter was mounted on a hook drilled to the wall at a level that would not affect the outcome of the water being pushed up.  The 5gl jug had a cap with a hole in the middle that was perfect to insert the flexible hose in and still keep it cover from any dust or any other contaminated particles that may affect the water.  I got an old test tube with a rubber cover that would slide perfectly in this hole.  All I had to do was make a small insertion for the flexible tubing to slide in.


It's been 2 days and so far the water level has been stable.