

So I been getting several water evaporation, and it's a pain getting that 5gl jug over the tank to add water.
I decided to try one of those Auto Top Off system, there's so many out in the market ranging different prices. Today I'll be focusing on the JBJ ATO, now I gotten several mix reviews that it's an okay item.
This comes with 2 floater sensors and several brackets to adjust the height of the floater sensors, as well as
2 suction cups.
I like the feature that you can set this up 2 ways. The way I'll be setting up is with one floater sensor and as the pump i will be using the famous Tom Aquatics Aqualifter.. oooohhhh la la..


 Next Step is too mount the JBJ ATO, I mounted it next to my wavemaker. The float sensor was placed with one bracket on the left chamber next to the protein skimmer. I adjusted the height by cutting a small piece of 1/2" tubing and placing it under the bracket sitting firmly on the rim of the aquarium. The output hose of the pump was run in between this 1/2" piece of tubing to hold it place and not to allow it to be in the water as this may cause a back flow siphon.


 After testing the system, the Aqualifter was mounted on a hook drilled to the wall at a level that would not affect the outcome of the water being pushed up. The 5gl jug had a cap with a hole in the middle that was perfect to insert the flexible hose in and still keep it cover from any dust or any other contaminated particles that may affect the water. I got an old test tube with a rubber cover that would slide perfectly in this hole. All I had to do was make a small insertion for the flexible tubing to slide in.
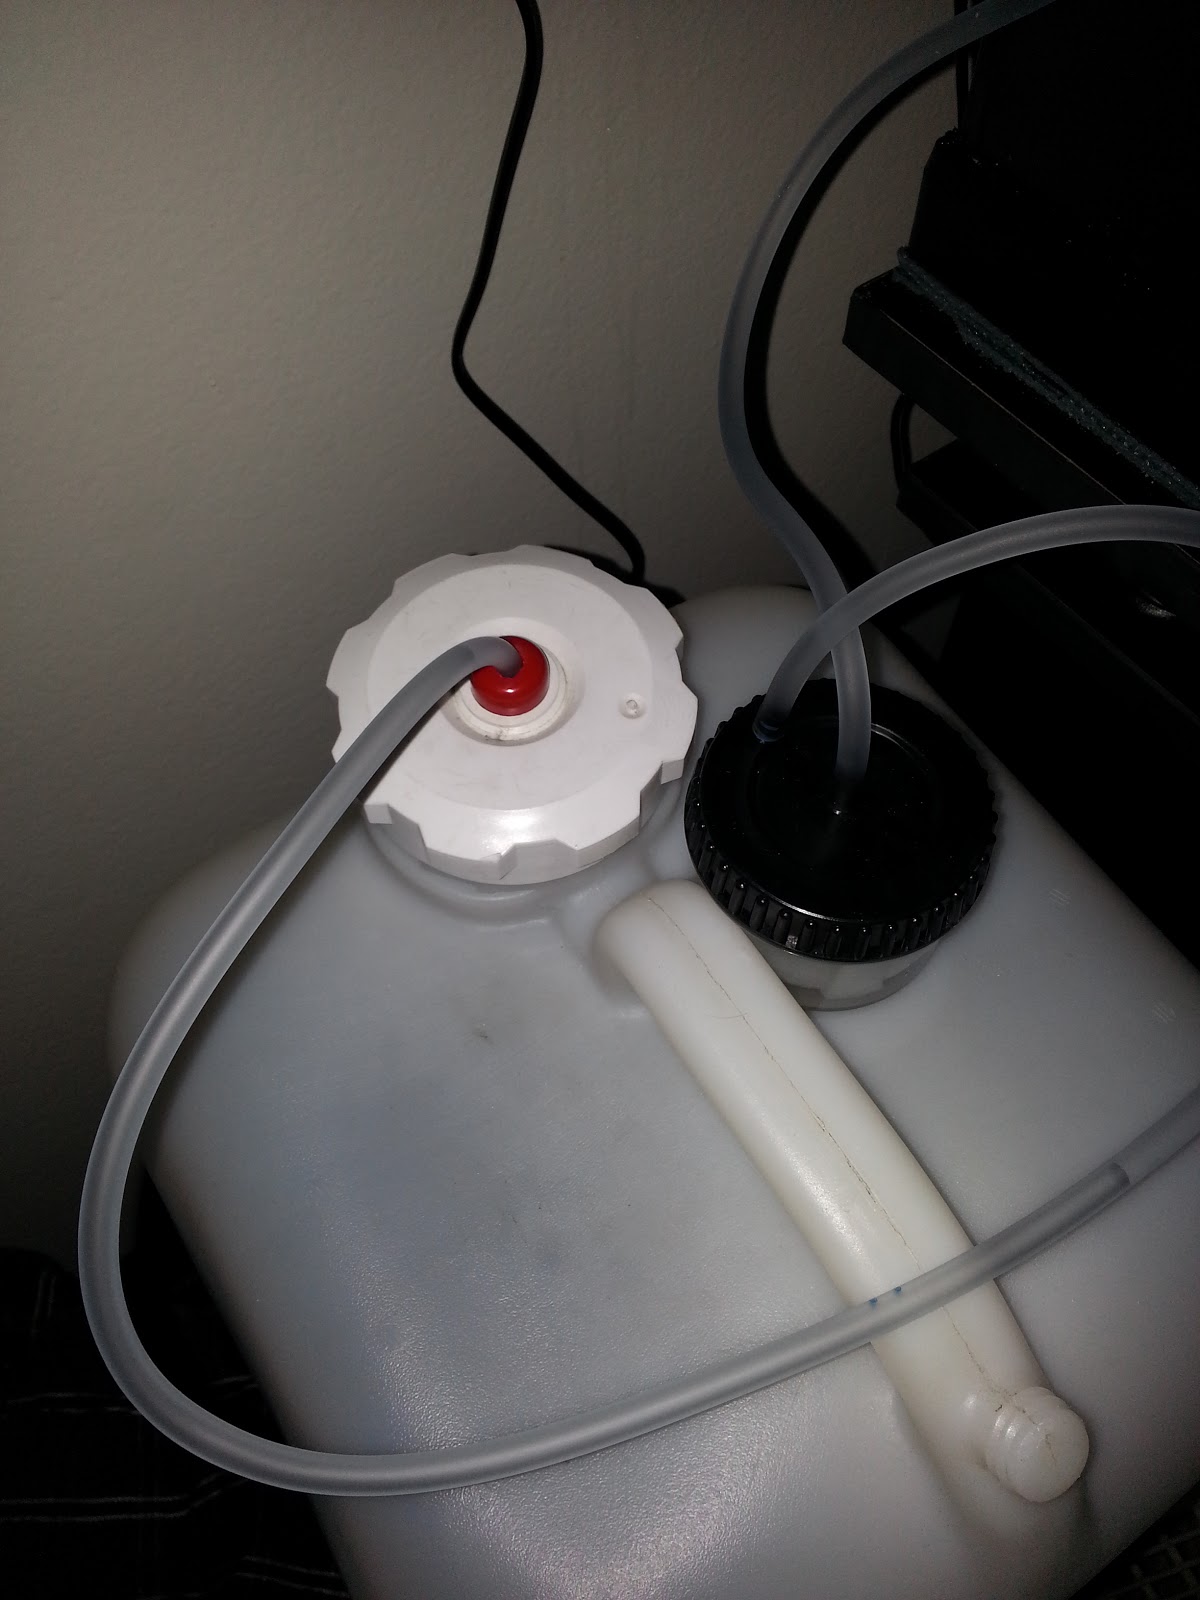

 It's been 2 days and so far the water level has been stable.


