
Friday, February 1, 2013

Thursday, January 10, 2013


Friday, December 21, 2012
How often should I maintain my tank? part I
 Well this hobby can be really easy to maintain if you keep up with your chores. Every tank is different and run differently but you can apply the same rules to all set-ups. It's easier to break down the maintenance if you separate them. I recommend a journal or a simple notebook to write down the days you need to clean your tank or change your media. I myself keep a record on my phone and alerts me when it's time for some tune up.
I run Filter Floss, Purigen and Chemi-Pure in my Mediabasket.
 I replace my Filter Floss every week, Purigen is recommend to be change every 6 months or until the beads exhaust and turn brown/dark. The Chemi-Pure, according to the manufacturer is suppose to be change every 6 months as well, suggestions by other forum members and hobbyist suggest 3-4 months. I look at it as depending how my tank looks and its bio-load, usually lasts me from 4-6 months. Since this tank is fairly recent I used the Chemi-Pure Nano when I set it and let the tank cycle. Once my ammonia, nitrites, and nitrates where 0, it was time to get rid of it and replace it with a regular size 6.5oz. Now I will place a memo on my phone to remind me to within 4 months to check the status on how it's doing.
So being that I'm replacing my Chemi-Pure I figure I might as well check my Purigen and since my Filter Floss is schedule to be replace I start doing my changes.
 Now as you can see my Purigen has turned brown and it's exhausted so it's time to remove. The Purigen can be either replace or wash under a certain process to bring it back to life(I will discuss this on a later blog).
As you can see we are ready to go. I then turn off my pumps and proceed to start scraping and cleaning my glass. Any detritus will fall on the substrate and here is where your siphon tube is good for. I myself do a 10% water change. You wanna make sure to siphon your substrate and pass on lightly enough to not disturb your sand. I use a turkey baster to blast any detritus on rock surfaces. Now that you siphon your water it's time to replenish your tank.


Next step is to turn back on your pumps and your set to go for your next maintenance schedule.

(Next upcoming blog... maintenance part II, taking pumps, skimmers, and powerheads and giving them a good scrub)
Wednesday, December 12, 2012
eeeeeeik eeik eeeek
Now that my tank has been set up and running for over 5 weeks its time to focus on some maintenance. I hate the algae film over your walls and if you let It be the tank will look blurry and give the impression that is just dirty.. ooh la la.. you dirty tank..
I have a mag float but realize I have to pass that magnet cleaner several times before I started seeing any results. It does not have enough strength to keep the magnets together, one quick move and the inside piece of the magnet will fly and float away.
Seeing several magnet cleaners in the market and experiencing with some, I have made my final decision. I wanted something that has a strong magnet grip not too flimsy and avoid the cost of spending way too much money for a magnet... seriously.. a magnet -_-
Ladies and Gentlemen I introduce to you... the Flipper (you can add your own dolphin noises here)
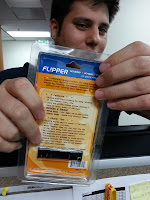 as you can see my associate Chromi is holding here... well let's try that again..
here!

 The Flipper has a low profile design that you can slide back and forth without knocking over a rock or coral. It comes with two blades, one for acrylic and on for glass. The Flipper has a pad to scrape on one side and when you flip it you get the blade side to start scraping away.


The magnet is so powerful that you can feel it's magnetize force when placing the top and bottom together.
The large soft cleaning pad on one side is great for daily maintenance. This Flipper can be use is fresh and saltwater aquariums up to 1/2" in thickness.


The Metal blades are made with stainless steel which is highly corrosion resistant. You can leave the Flipper in your tank and the blade should last for months without rusting. This is one heavy duty cleaner I would recommend for anyone in need of some scraping and cleaning your tank.
I have a mag float but realize I have to pass that magnet cleaner several times before I started seeing any results. It does not have enough strength to keep the magnets together, one quick move and the inside piece of the magnet will fly and float away.
Seeing several magnet cleaners in the market and experiencing with some, I have made my final decision. I wanted something that has a strong magnet grip not too flimsy and avoid the cost of spending way too much money for a magnet... seriously.. a magnet -_-
Ladies and Gentlemen I introduce to you... the Flipper (you can add your own dolphin noises here)

here!

 The Flipper has a low profile design that you can slide back and forth without knocking over a rock or coral. It comes with two blades, one for acrylic and on for glass. The Flipper has a pad to scrape on one side and when you flip it you get the blade side to start scraping away.


The magnet is so powerful that you can feel it's magnetize force when placing the top and bottom together.
The large soft cleaning pad on one side is great for daily maintenance. This Flipper can be use is fresh and saltwater aquariums up to 1/2" in thickness.


Tuesday, November 27, 2012
New JBJ ATO with Tom Aquatics dosing Pump


So I been getting several water evaporation, and it's a pain getting that 5gl jug over the tank to add water.
I decided to try one of those Auto Top Off system, there's so many out in the market ranging different prices. Today I'll be focusing on the JBJ ATO, now I gotten several mix reviews that it's an okay item.
This comes with 2 floater sensors and several brackets to adjust the height of the floater sensors, as well as
2 suction cups.
I like the feature that you can set this up 2 ways. The way I'll be setting up is with one floater sensor and as the pump i will be using the famous Tom Aquatics Aqualifter.. oooohhhh la la..


 Next Step is too mount the JBJ ATO, I mounted it next to my wavemaker. The float sensor was placed with one bracket on the left chamber next to the protein skimmer. I adjusted the height by cutting a small piece of 1/2" tubing and placing it under the bracket sitting firmly on the rim of the aquarium. The output hose of the pump was run in between this 1/2" piece of tubing to hold it place and not to allow it to be in the water as this may cause a back flow siphon.


 After testing the system, the Aqualifter was mounted on a hook drilled to the wall at a level that would not affect the outcome of the water being pushed up. The 5gl jug had a cap with a hole in the middle that was perfect to insert the flexible hose in and still keep it cover from any dust or any other contaminated particles that may affect the water. I got an old test tube with a rubber cover that would slide perfectly in this hole. All I had to do was make a small insertion for the flexible tubing to slide in.
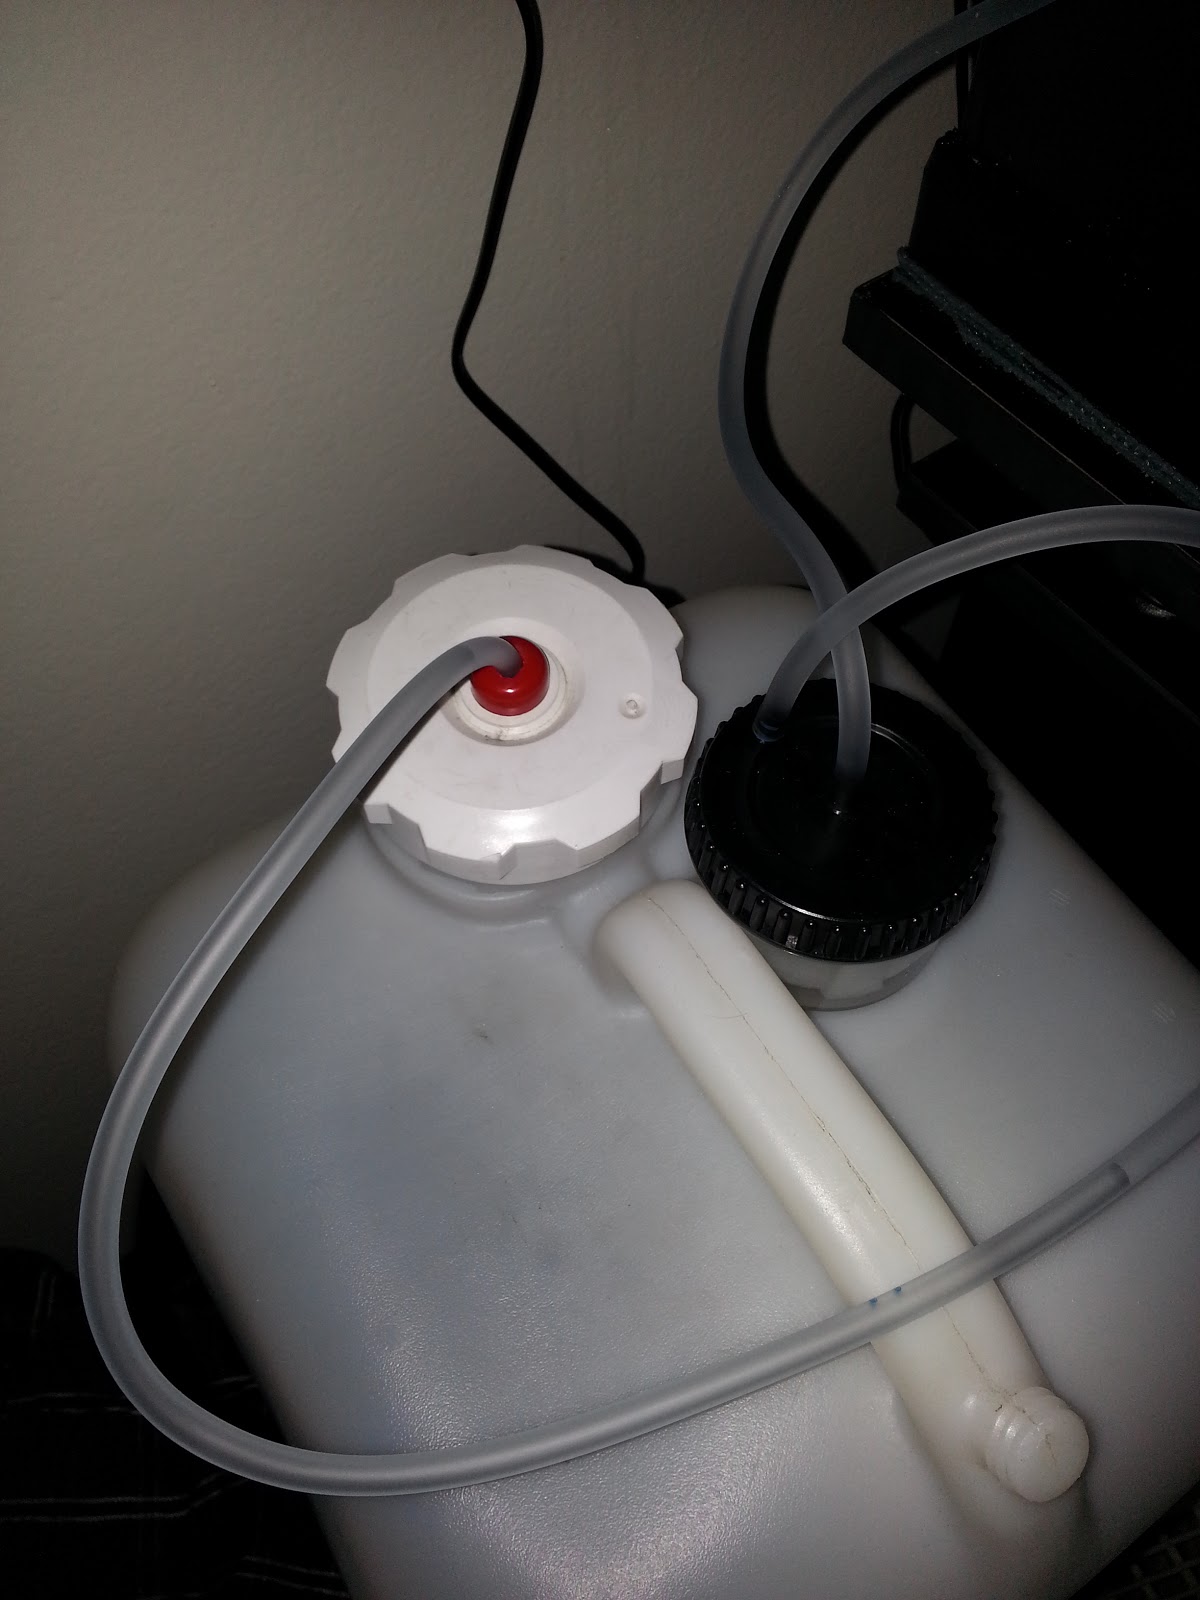

 It's been 2 days and so far the water level has been stable.
Subscribe to:
Posts (Atom)